MongoDB is a famous No-SQL database. Many are tempted to use MongoDB with PHP but that story they heard that it is so hard to use NoSQL databases with PHP turn them back and they are happy to “backslide” to JavaScript or other languages. The truth is, PHP works fine with MongoDB. Specifically, if you are into MongoDB, Yii makes it easier to use it with less efforts. Let us see how we can do that.
1. INSTALL AND SETUP MONGODB
First you will need to install MongoDB community edition. By this time, I assume you have read and agreed with Mongo’s licensing terms. If you haven’t, it is worthy paying attention! So head to Download page and install the package that works with your OS/Distro. Once all is setup, you can move to PHP (Yii) stuffs. But before that, I would like to explain few things for MongoDB beginners coming from Relational databases.
First there are no tables or columns. NoSQL is organised more or less as JSON documents, with collections (think of JSON arrays) and documents (think opf them as JSON objects). So database have collection of collection and each collection might contain a number of documents.
Secondly, when you connect to Mongo Shell (aka mongosh), it will likely connect you to default database. To change to new database, just use keyword “use”. So to go to movies database in mongosh, we will do use movies. There is a whole of documentation on how to use Mongo shell. It is not essential but great at inserting and inspecting data. We will be adding data that way.
And finally, I could not find default password or username so I had to create one to connect to the database, and consequently, I will show you how to do it.
Without delay, let us start setting up our database. First login to mongosh. Type the following command:
mongosh "mongodb://localhost:27017"
It should connect fine. You can verify connection while at mongosh by typing
db.getMongo()
You should see something like mongodb://localhost:27017/?directConnection=true&serverSelectionTimeoutMS=2000&appName=mongosh+2.1.3
Next we are going to create database. In this example will be building a very simple blog. As stated above the command is as easy as:
use blog
We will now create user that will connect to MongonDB and operate on the database in our Yii app. Here is the user mongouser with password 123456
db.createUser( {
    user: "mongouser",
    pwd: "123456",
    roles: [
         { role: "readWrite", db: "blog" }
     ]
})
Finally we will conclude first section of this tutorial by inserting some posts:
db.posts.insertMany([
{
    title: "First Post",
    body: "Music is great",
    category: "Music",
    tags: ["C#", "G"],
    date: Date()
},
{
    title: "Family is Good",
    body: "Marry and have kids. Have fun with ya wife. Death will certainly come!",
    category: "Family",
    tags: ["family", "God"],
    date: Date()
},
{
    title: "Kids are swimming",
    body: "Father and mother watching. Musing together on wonderful creation!",
    category: "Family",
    tags: ["musings", "family"],
    date: Date()
    }
])
That is it for MongoDB part. You can surely do a lot with MongoDB, but this should suffice for our scope!
2. SETTING UP Yii2 PROJECT
Firs you will need to install Basic template. It is an application template with MVC structure ready for us. We will call our project Blog. Fire your terminal and execute the following command (assumption is you know Composer and have it installed. If not, visit Composer website):
composer create-project --prefer-dist yiisoft/yii2-app-basic Blog
Then install Yii2 MongoDB extension. Note that this extension requires your PHP have ext-mongodb installed. Here is the command:
composer require --prefer-dist yiisoft/yii2-mongodb
Once installed we should have a working project. We can run the server and test things. While in Blog folder, execute command:
./yii serve --port=9000
We run server on port 9000 to avoid colliding with anything on 8080. Else you can remove the –port part. If all is well you should see something like this
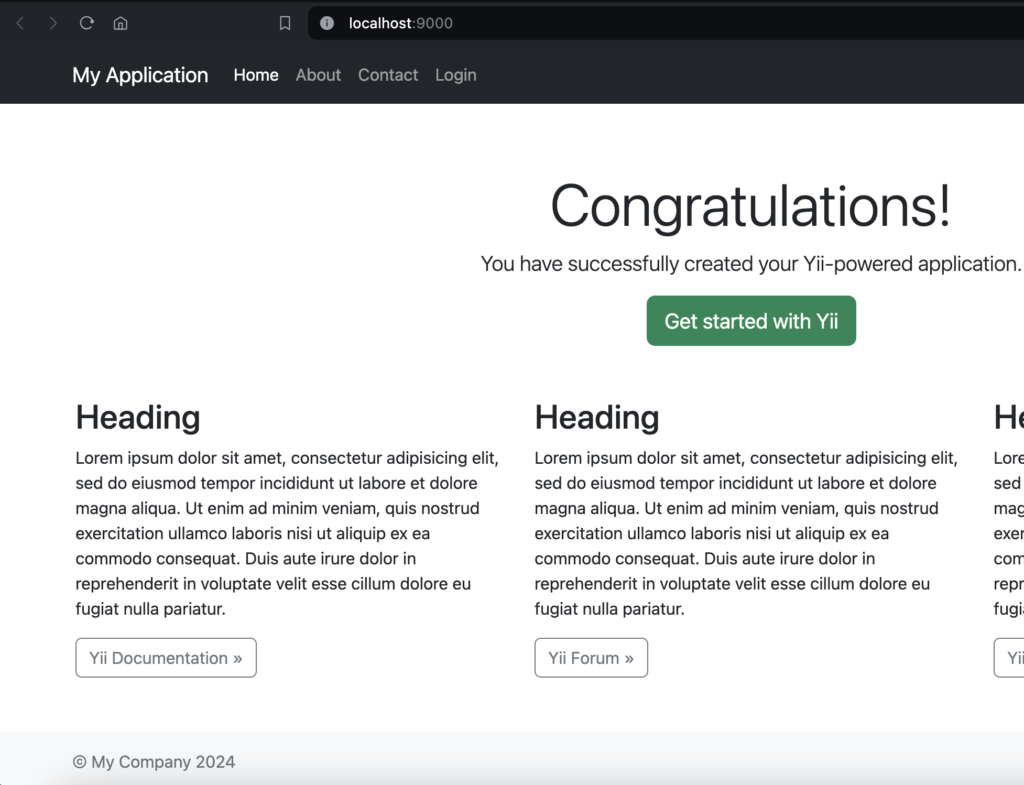
Congratulations for getting thus far. You are almost there!
3. TYING ALL TOGETHER
Let us now configure our app connection. By default Yii uses component called mongodb for all things Mongo that require connection. So let us set it app by adding component to our Yii configuration under config/web.php.
Note: that You can mix MongoDB with whatever relational database, if you want to.
$config = [
    //…..
    'components' => [
        'mongodb' => [
            'class' => '\yii\mongodb\Connection',
            'dsn' => 'mongodb://mongouser:123456@localhost:27017/blog',
        ],
        'db' => $db,
         //….
    ],
];
With that we can use the extension to connect and manipulate MongoDB to do our bidding. Please take a look at Documentation of what you can do with Yii in the extension Docs page. For the purpose of this tutorial, we will demonstrate how to use Active Record pattern with Yii2 and MongoDB.
Hurry to models folder and create Post.php. This will be our model that will abstract each post document in our collections. Here is how it looks like:
<?php
namespace app\models;
use yii\mongodb\ActiveRecord;

class Post extends ActiveRecord
{
    public static function collectionName() {
        return 'posts';
    }

    public function attributes() {
        return ['_id', 'title', 'body', 'category', 'tags', 'date'];
    }
}
As you can see, with such simple class we have the full power of Active record and we can start fetching our data like Pros. Let us fetch our record and display them in a view.
First head to controllers folder and open SiteController.php file. This contains our default controller. Then we will update index action. Currently it will look like:
public function actionIndex()
{
    return $this->render('index');
}
It just displays whatever contents of the the view file named index is having. We are going to pull all our posts and pass them to the view. To do that, we are going to use our Post model. Here is the code:
public function actionIndex()
{
    $posts = Post::find()->all(); //fetch posts

    return $this->render('index', ['posts' => $posts]); //pass to the view
}
Finally, let us display them posts in the view.
Yii have simple convention, views folder for controller resides in views under folder with name same as controller ID. Controller ID is simply name in lower case before Controller suffix or hyphenated in case of multi-word name. So we expect to find under views folder called site for views corresponding to SiteController.
Head to views/site/index.php and open the file in the editor. We will remove all the text and add simple foreach loop. Here is how it should look now:
<?php
$this->title = 'Blog Posts';
?>

<ul>
    <?php foreach ($posts as $post) : ?>
        <ol><?= $post['title'] ?></ol>
    <?php endforeach; ?>
</ul>
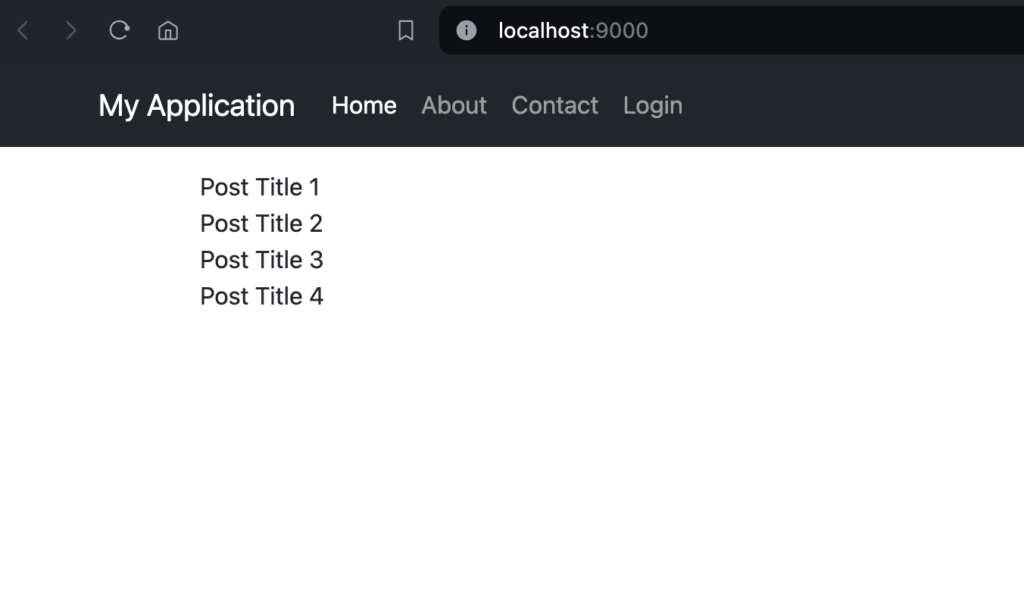
You should now see the posts displayed in the list. You can do a lot with Yii and MongoDB. We have barely scratched the surface. The point is, you can develop a full-blown app with Yii and MongoDB as your database with no problem.
That ends our today’s tutorial.
If you followed the tutorial to the very end, then you must have a working app. And as you can see, it is quiet easy to use Yii packages to work with MongoDB. Yii have a lot of other packages you can use in your PHP applications. Consider checking Yiisoft github. Follow Yii Framework in X for releases and other official announcements, and Yii Updates for regular Yii updates on X. If you didn’t know, Yii have quiet a presence in social media space, make sure to visit the page outlining official channels here
Please let me know if you have any comments and to get new contents when uploaded, on our X account @hosannahtech
Until next part of this series,
Cheers!